Design Page: Key Sections
Top Bar Navigation
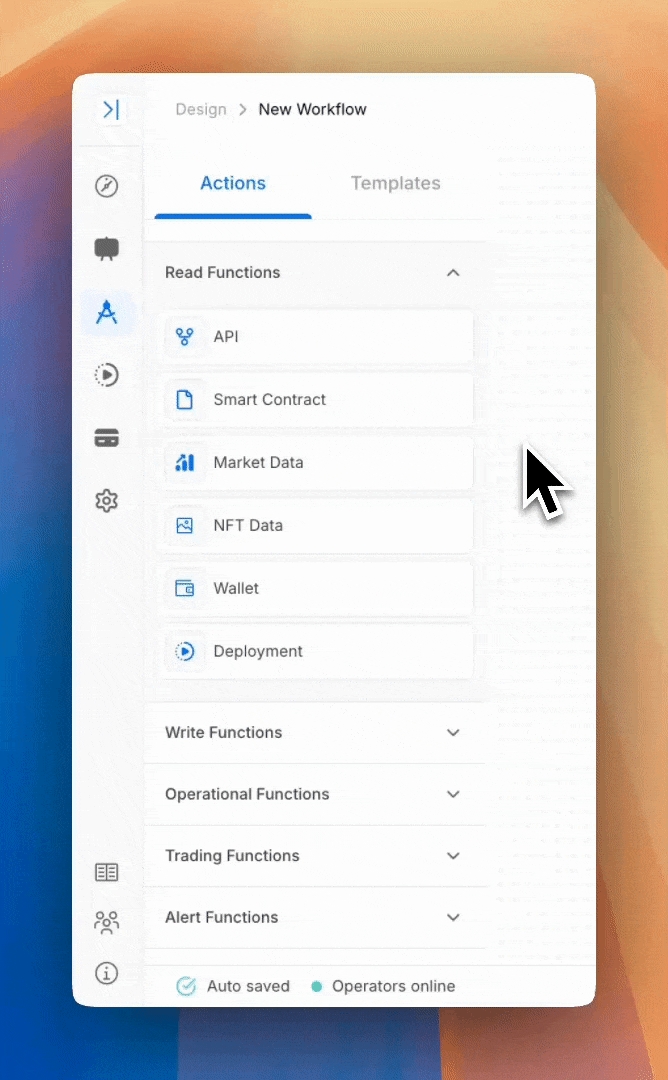
Pathway: Shows the current navigation path to the workflow being edited.
Deploy Button: First, it tests each function within the workflow to ensure it works correctly before full deployment. Next, it finalises and deploys the workflow to run as specified.
Left-Hand Side Menu

Functions Tab: Contains a list of all available functions that can be dragged and dropped into the workflow. Templates Tab: Contains a library of pre-built workflow templates that can be customised and deployed instantly.
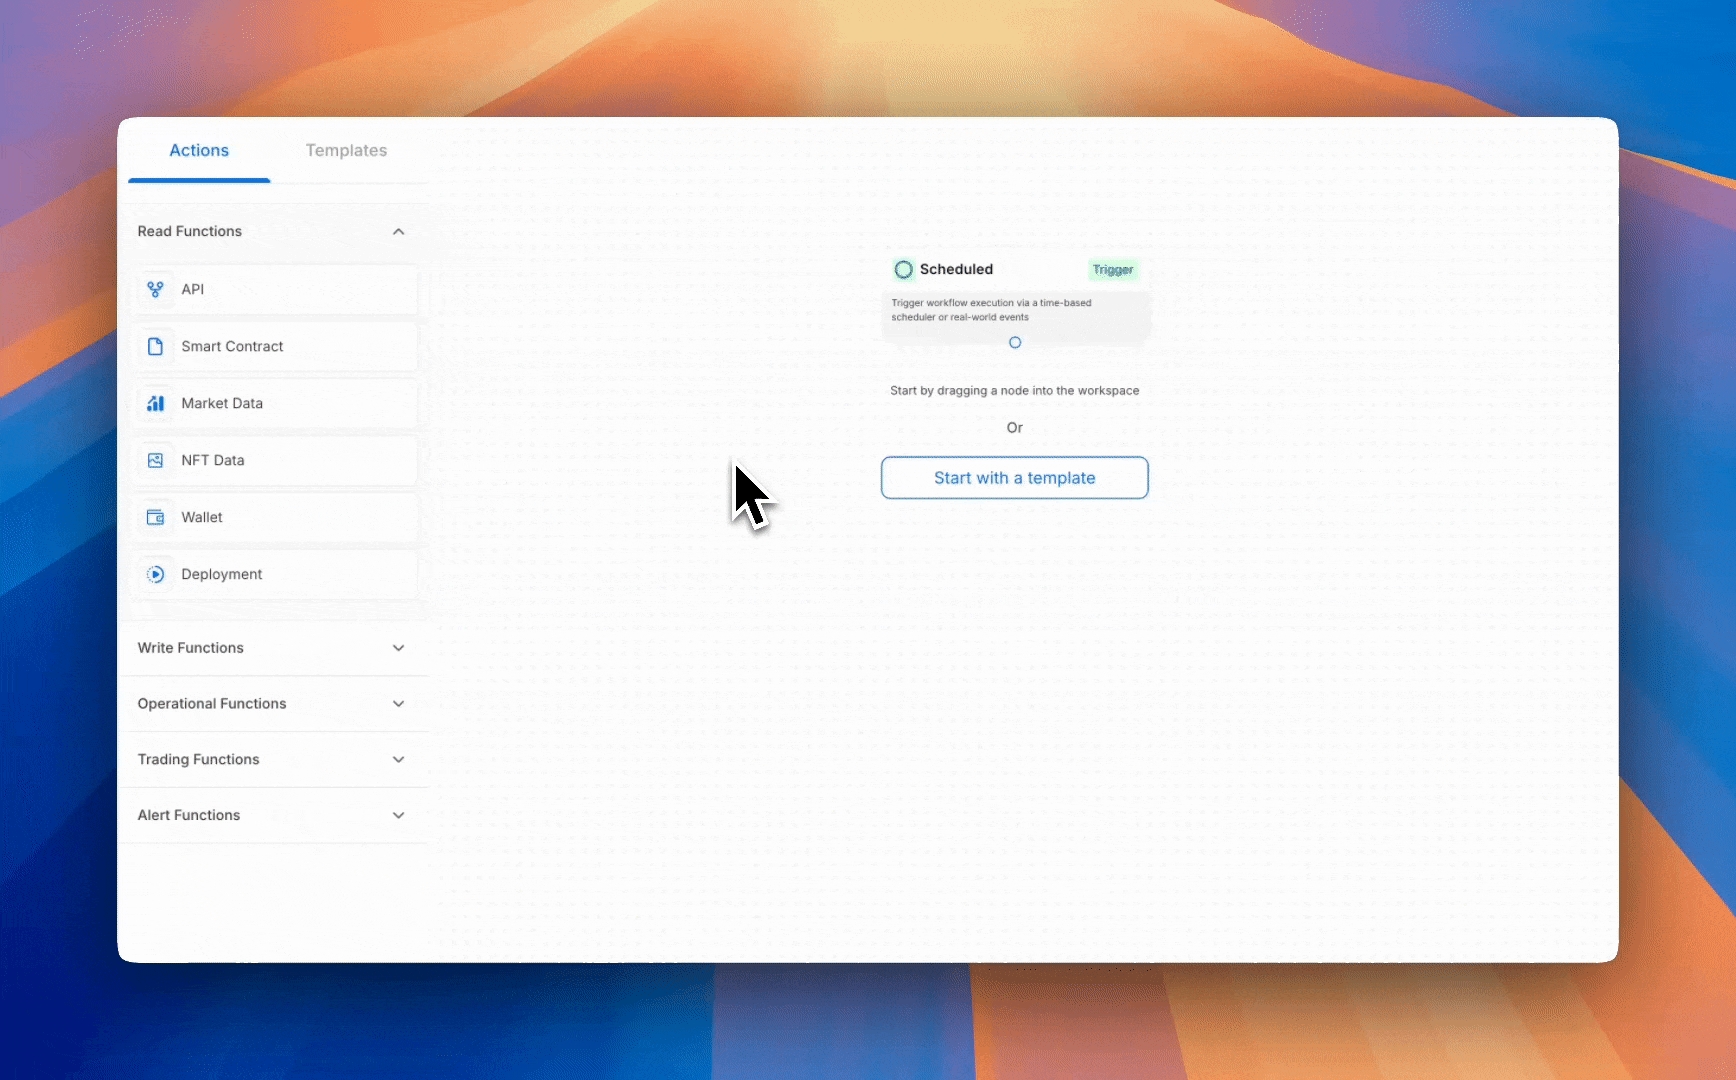
Main Workflow Editing Section
The Main Workflow Editing Section is where users design their workflows by dragging and dropping functions or templates from the left-hand side menu. Here’s how it works:

Automation Editor Area: Build your workflow by dragging functions into the workspace. To ensure functions execute sequentially, connect them by linking the output of one function to the input of the next. Each connection creates a chain where data flows from one function to the next, carrying outputs from previous steps.
Connections and Data Flow: The output of a function can only connect to the input of one other function. This ensures a clear and structured data flow within your workflow.
Delete Button: Easily clear your entire workflow with the delete button, resetting the workspace for a fresh start.
Zoom Controls: Adjust your view of the workflow with zoom buttons, allowing you to zoom in for precise adjustments or zoom out for a broader overview.
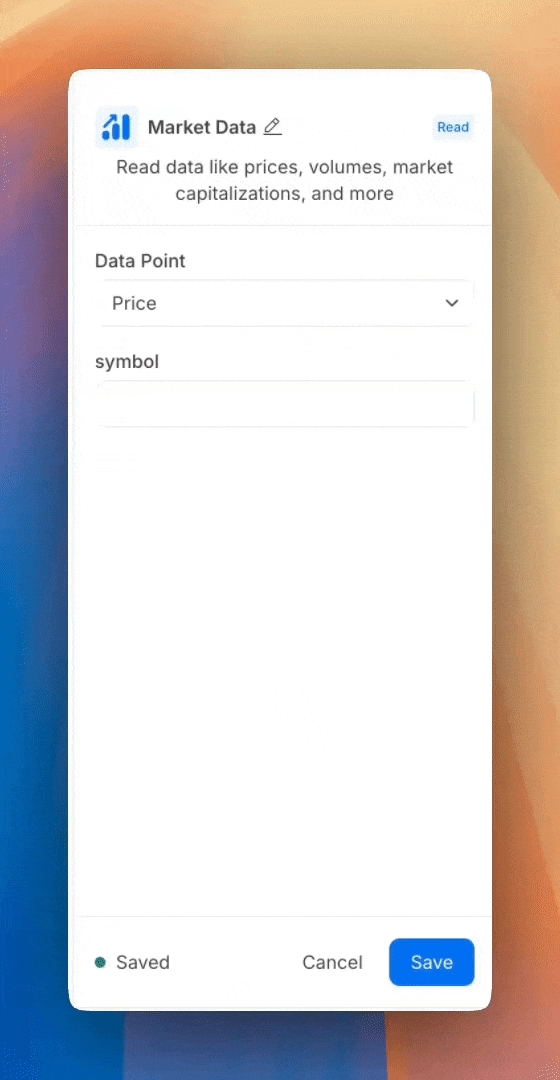
Right-Hand Side Menu (Functions Parameters)
The Right-Hand Side Menu is where users configure and customise the parameters for each specific function in their workflow. Here’s how it works:

Dynamic Function Settings: This menu automatically opens whenever you select a function in the workflow editor, displaying the specific settings and options for that function.
Parameter Configuration: Use this section to input and edit the required parameters, such as data sources, conditions, or outputs, to define how the function behaves and interacts with other connected functions.
Save Your Changes: After configuring a function, make sure to click the Save button to ensure your settings are applied. Unsaved changes may result in the function not operating as expected.
Last updated